
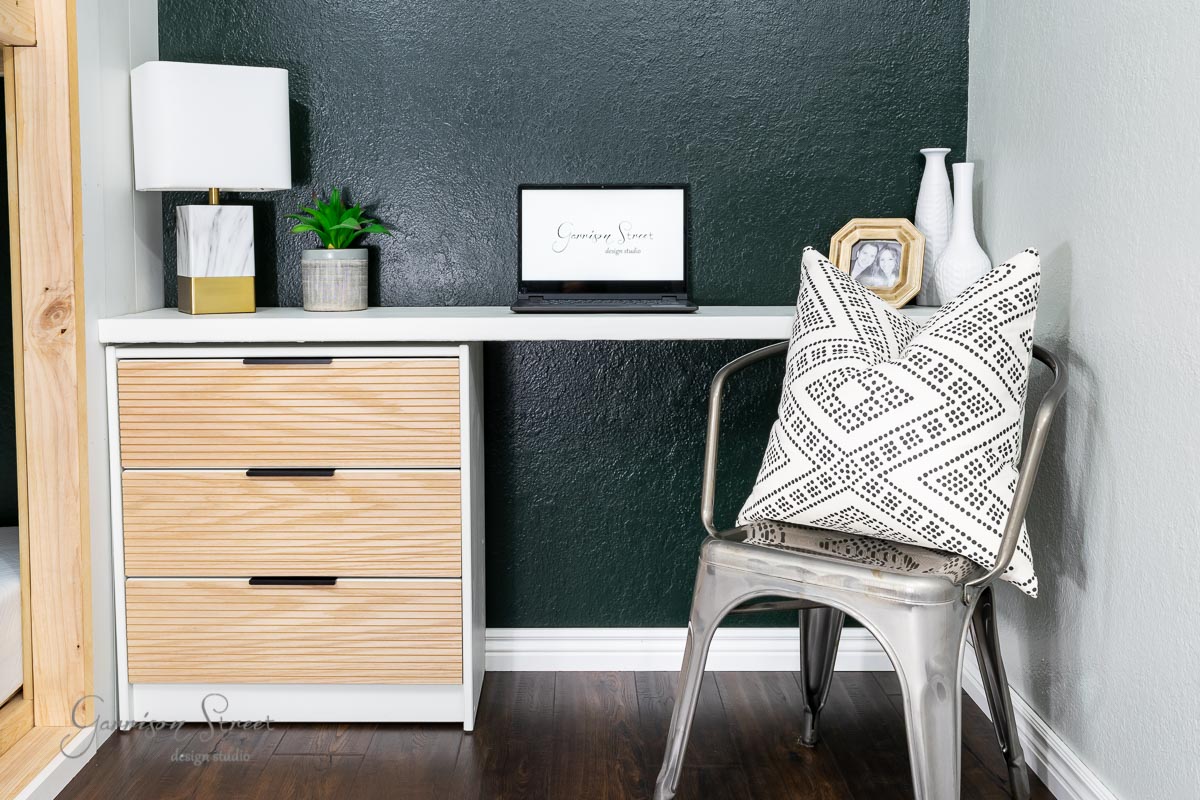
Fluted IKEA Rast Dresser Makeover Hack with Desk
Week 4 of the One Room Challenge is here and we took a little bit of a detour. I know you were expecting a closet but instead you are getting an IKEA Rast hack. Confused? Me too. Let’s just say that I apparently forgot how to measure things accurately. On the positive side, we did manage to source several things from IKEA, including this week’s Rast chest of drawers hack. If you missed the week one, week two, or week three, check those out first. While this week didn’t turn out exactly as I had planned, I still checked another item off the list, so I am calling it a win. Do you wanna see the IKEA Rast makeover?
This post contains affiliate links. For more information, please see my policies.
Last week we we built bunk beds in the left corner of the room. This left us with just over five feet of space in the right hand corner on the same wall. I must admit, I had a hard time deciding what to do here. Because we still need access to where the ladder will be for the bunk beds, I had a limited depth to work with.
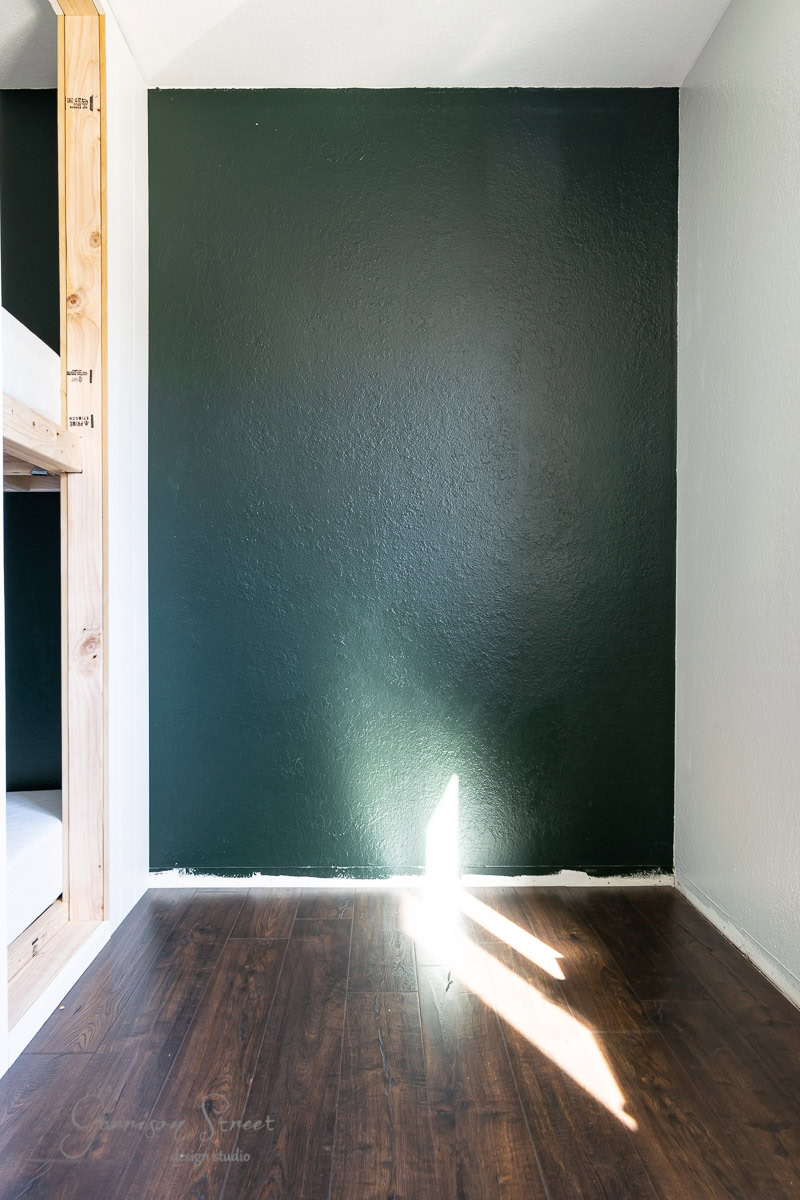
Since this is a guest bedroom, I didn’t feel the need for a ton of storage space here. But an extra desk space would be nice since we both work at home regularly now. We do have a dual home office, but sometimes we need to be on conference calls at the same time, so it would be nice to have a secondary option to take our laptops when those situations arise.
Enter IKEA. Love or hate it, IKEA furniture comes with a low price tag and endless opportunities to customize their pieces with DIY projects. Not to mention they have a lot of small dressers that fit in tight spaces. So when I saw the IKEA Rast 3-drawer dresser, I knew the blank canvas was the perfect piece of furniture for the small corner of the room.
My creative spin for this IKEA dresser
I planned to paint the entire piece with white paint, add new handles, and custom fluted detailing to the drawer fronts. I would then add a desk top to the top of the dresser floating one side with the back of the dresser in the corner against the bunk bed wall. Let me show you how I converted this plain IKEA Rast into a desk.
Step 1: Go to IKEA
The first thing to do was go to IKEA. We had a pretty full car load on this trip but we didn’t have to strap anything to the roof, so that’s good! I chose the IKEA Rast because it’s low profile fits in small spaces well. As I mentioned above, we have limited depth to work with before we run into where the ladder will be for the bunk beds.

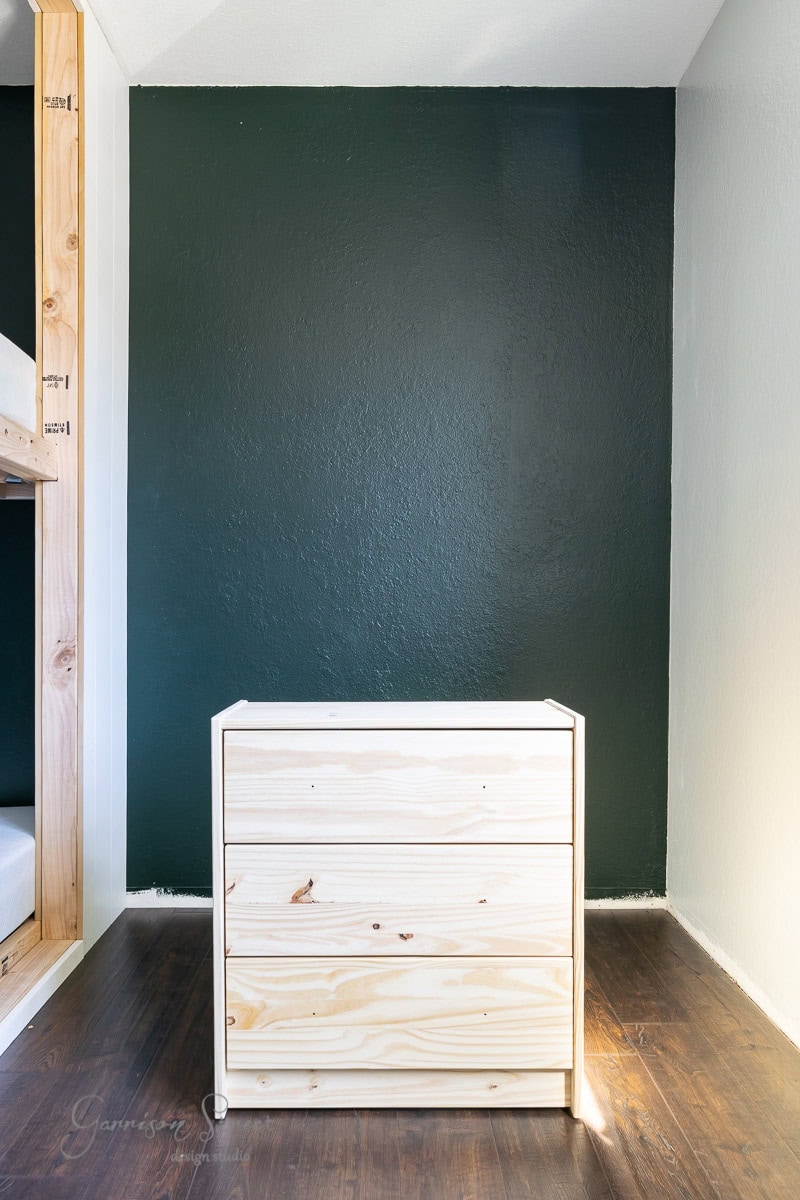
Step 2: Build the IKEA Rast
I know many people enjoy this step the least, but after building bunk beds from scratch, this seemed like a cake walk. Note, do not attach the included wooden knobs.
Step 3: Paint It
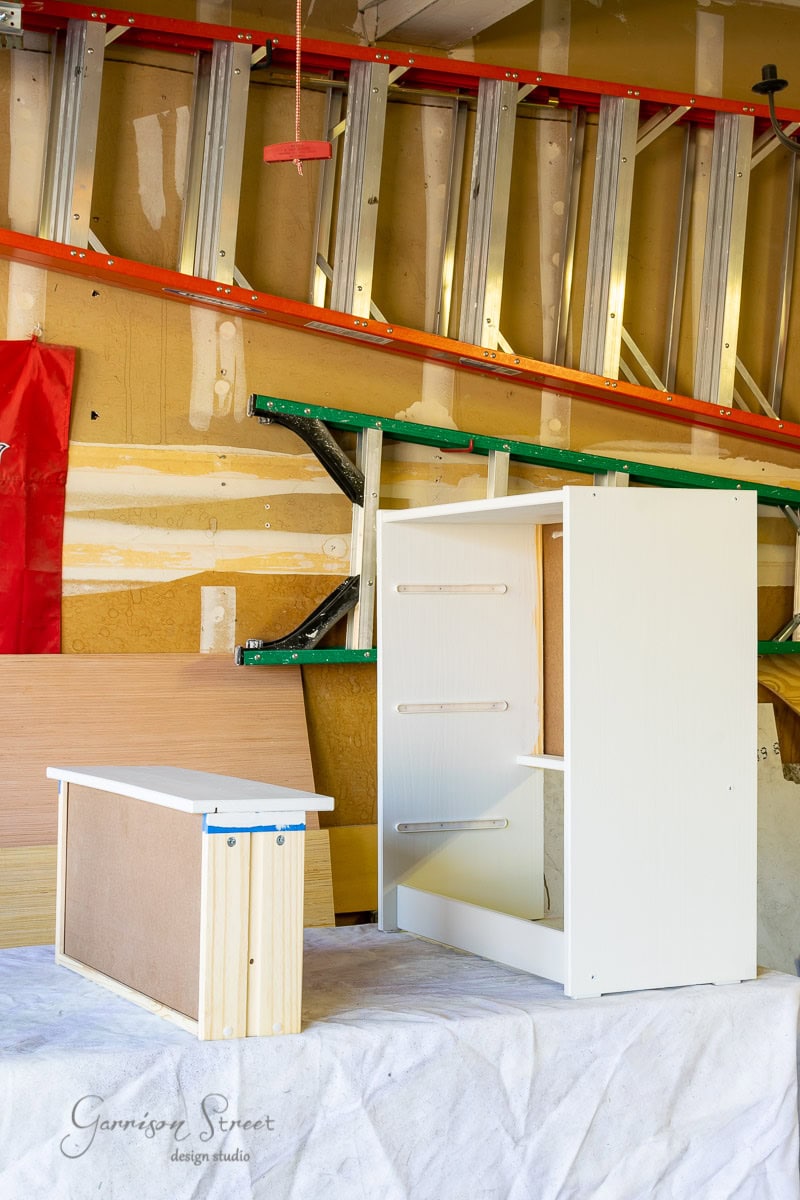
I had a specific overall look in mind and was going for a two tone mid century vibe (this will make sense soon) so I used the left over paint from the fireplace and the kitchen backsplash and painted the entire dresser and drawer fronts.
Step 4: Pole Wrap
If you watch my Instagram Stories you saw this already and probably had questions. Pole wrap is exactly what it sounds like. It is meant to wrap poles in basements. Think 70s/80s style. But they still sell this bendy, fluted wood which is perfect for a mid century look! I chose to use it horizontally.
Because pole wrap adds a lot to a DIY makeover, sometimes it sells out. But I have always been able to find it online at Home Depot.
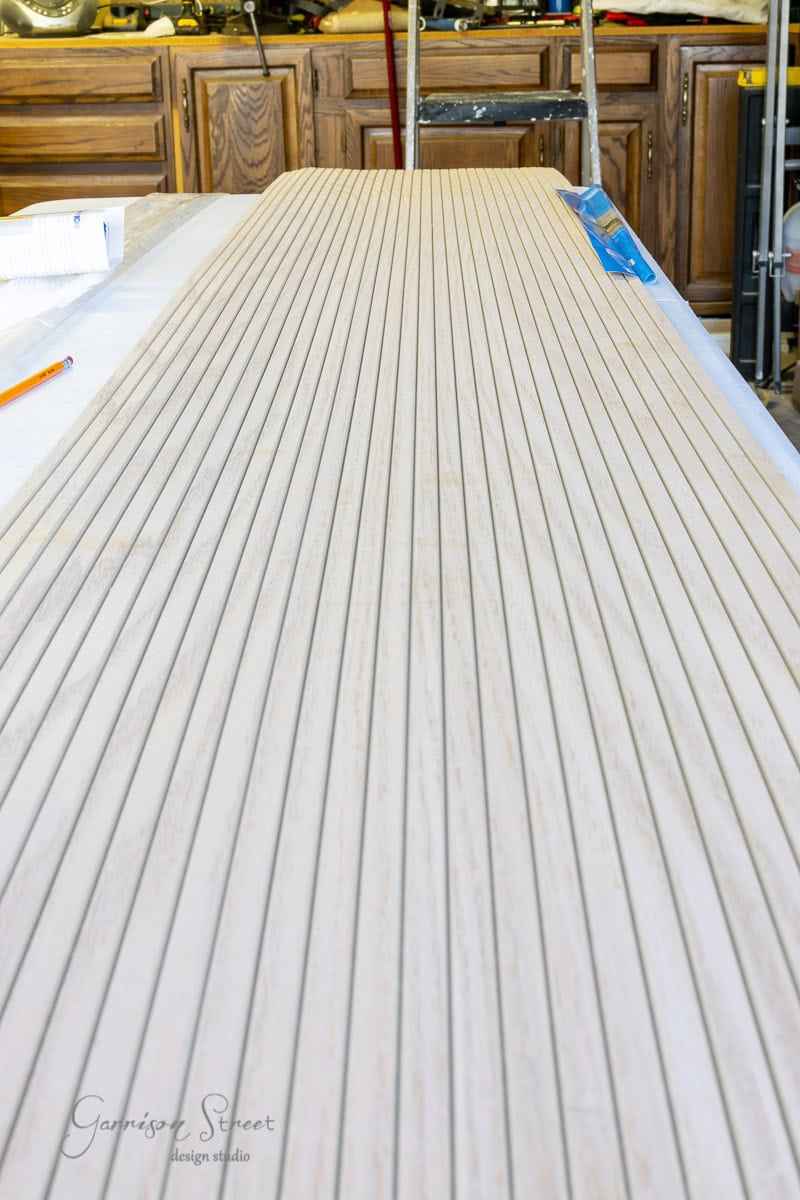
You will need to cut the pole wrap to fit the size of the drawer fronts. I used our miter saw with a fine finish saw blade to make the cross cuts and a utility knife to cut between the pieces of wood. You can also use it vertically but will have more cuts.
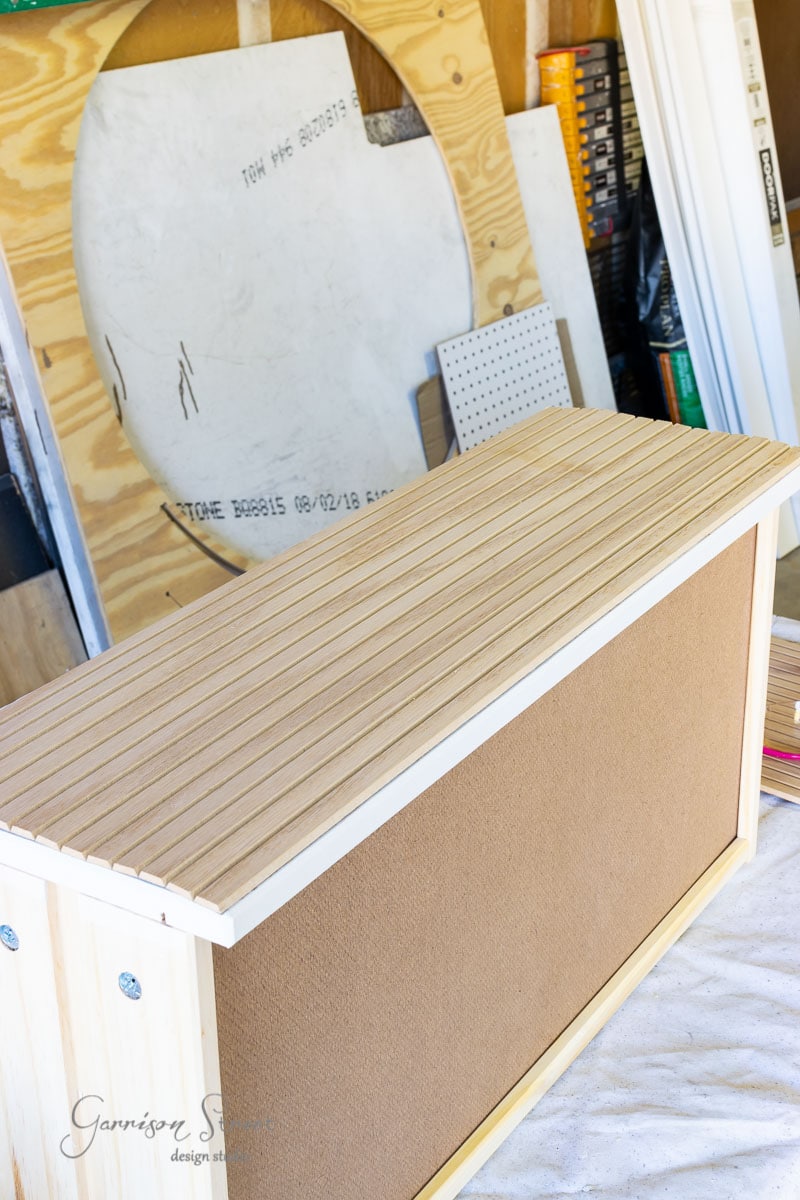
Full disclosure, this is 16 inches wide and our 12 inch miter saw doesn’t make cuts that wide so I had to flip it over and make a second pass to cut all the way through. Or you can keep it rolled up and cut it rolled.
Step 5: Glue Pole Wrap to Drawer Fronts
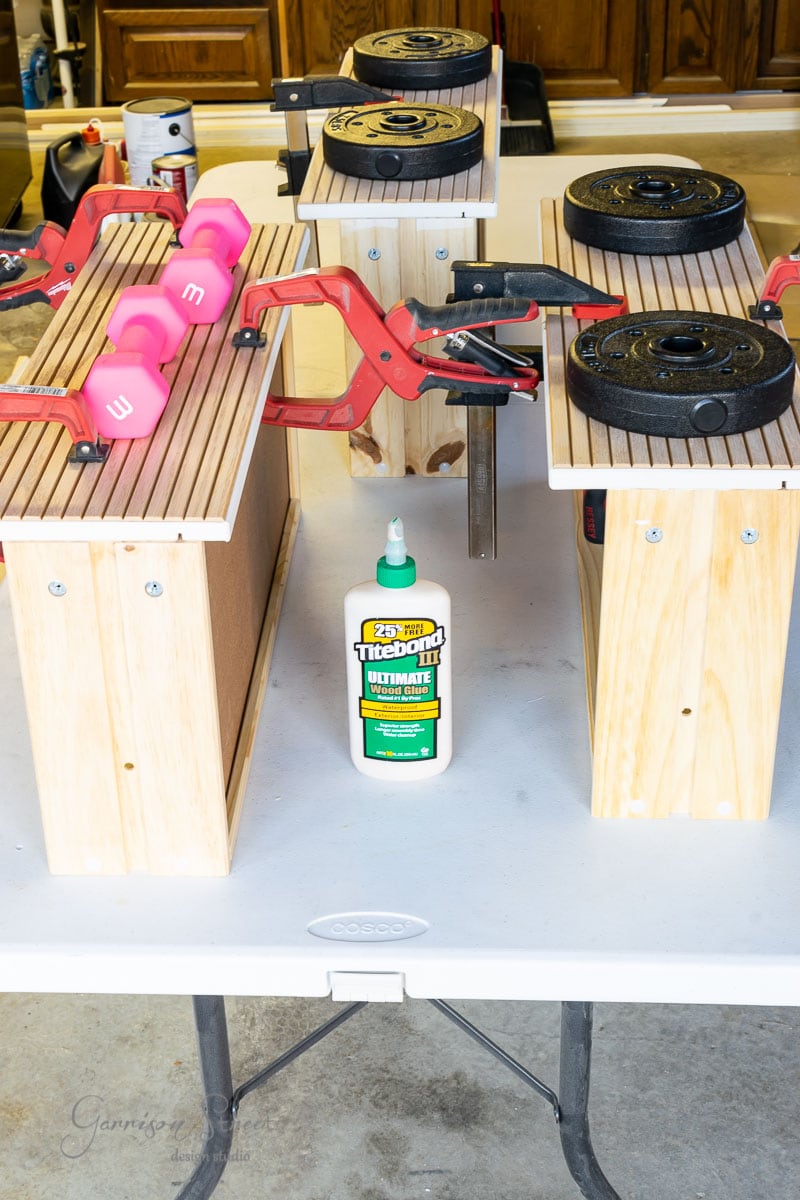
With the pole wrap cut to size, I used wood glue to attach the pole wrap to the IKEA Rast drawers. I spread the glue almost to the edges with my finger. I chose the wood glue because of it’s strength, but I didn’t want it to set too fast so I would have time to position the pole wrap just right.
You could use a brad nailer and attach the pole wrap that way, but I didn’t want to mess with nail holes and wood filler.
Step 6: Let the Glue Set
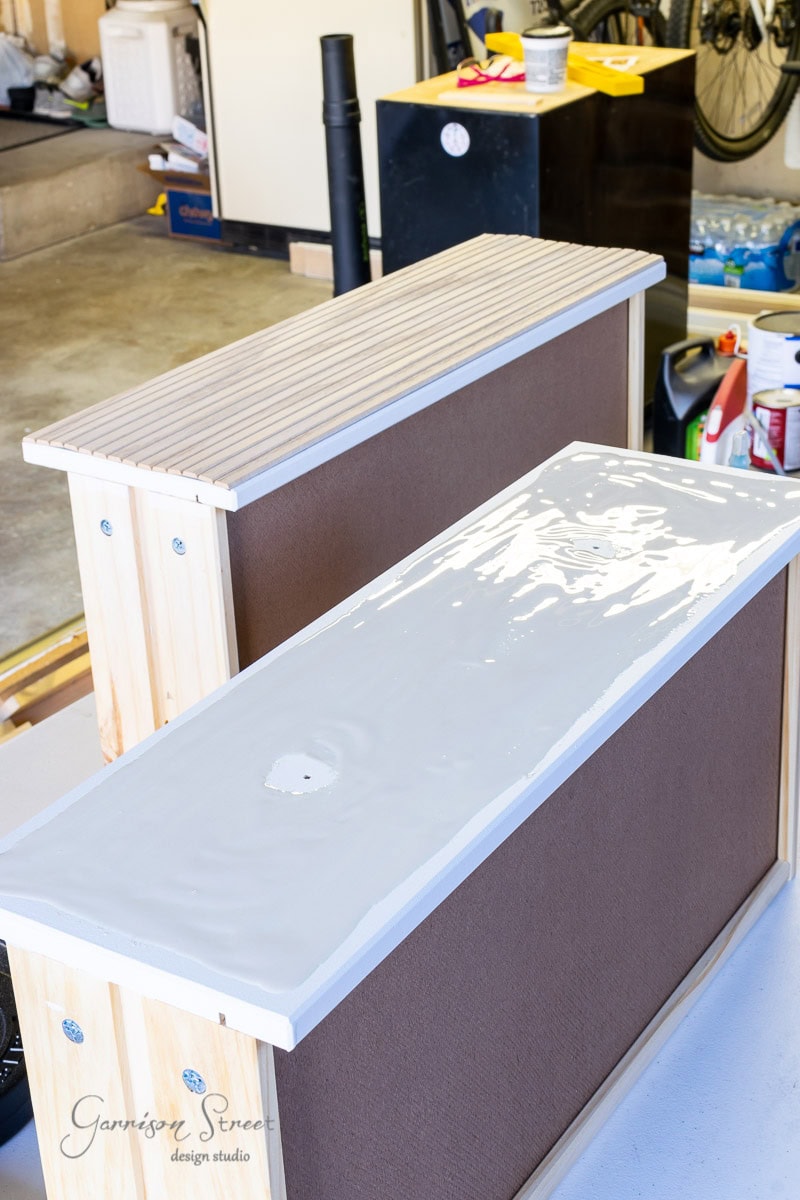
I let mine set overnight and used clamps and weights to keep it in place. Be very careful that you don’t have any glue leaks. I missed one and didn’t see it until it was dry and it was a little hard to get off.
Step 7: Add Hardware
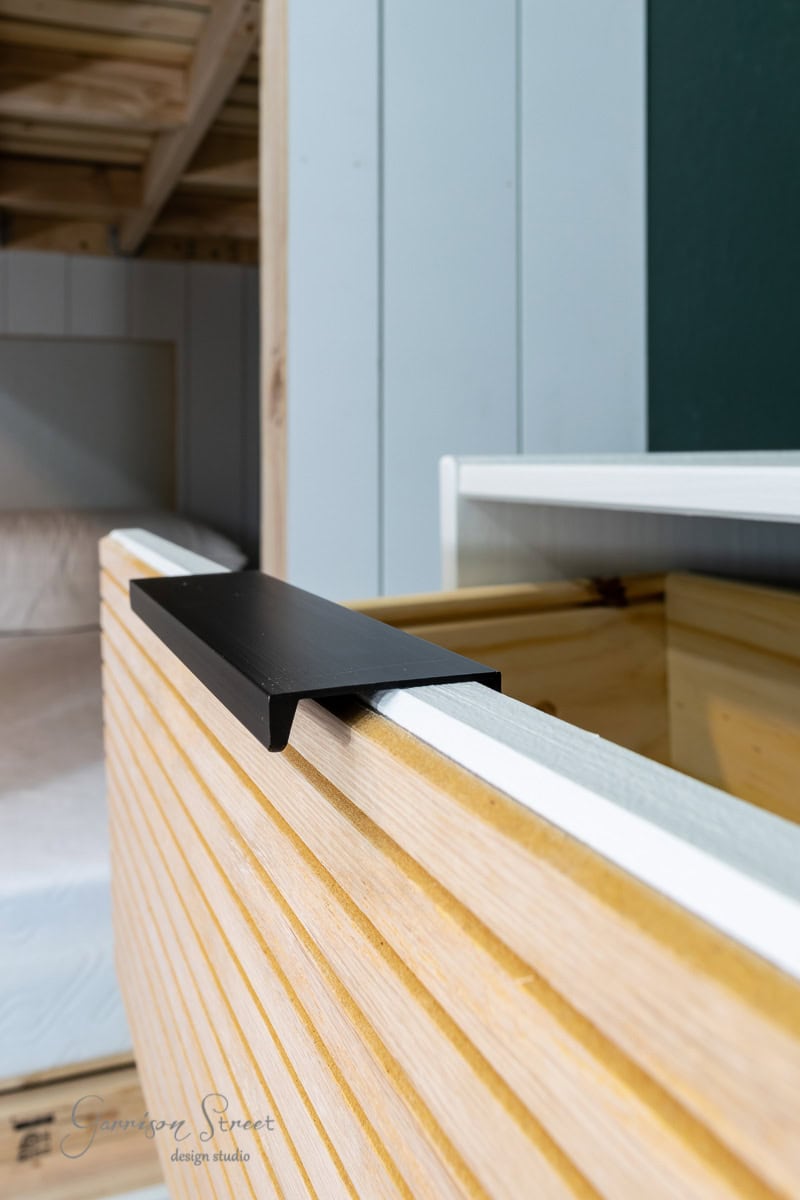
Once all the glue was dry, I added the new hardware. Since I was going for a mid century vibe I chose these 6 inch black finger pulls. Because this is not where the original holes were, I had to drill new ones.
I first found the center of each drawer and then measured to make sure each handle was the same distance to each edge.
DIY Desk Top
It was my intent to make a faux concrete desk top like I did for the pizza oven table, but that didn’t go exactly as planned. So keep that in mind as I walk you through it. As I mentioned above, we had limited depth so I decided to make the desk top just under 13 inches. I achieved that by joining a 2×8 and a 2×6 I had left over from the bunk bed build. I did this with pocket holes, wood screws, and my Kreg Jig.
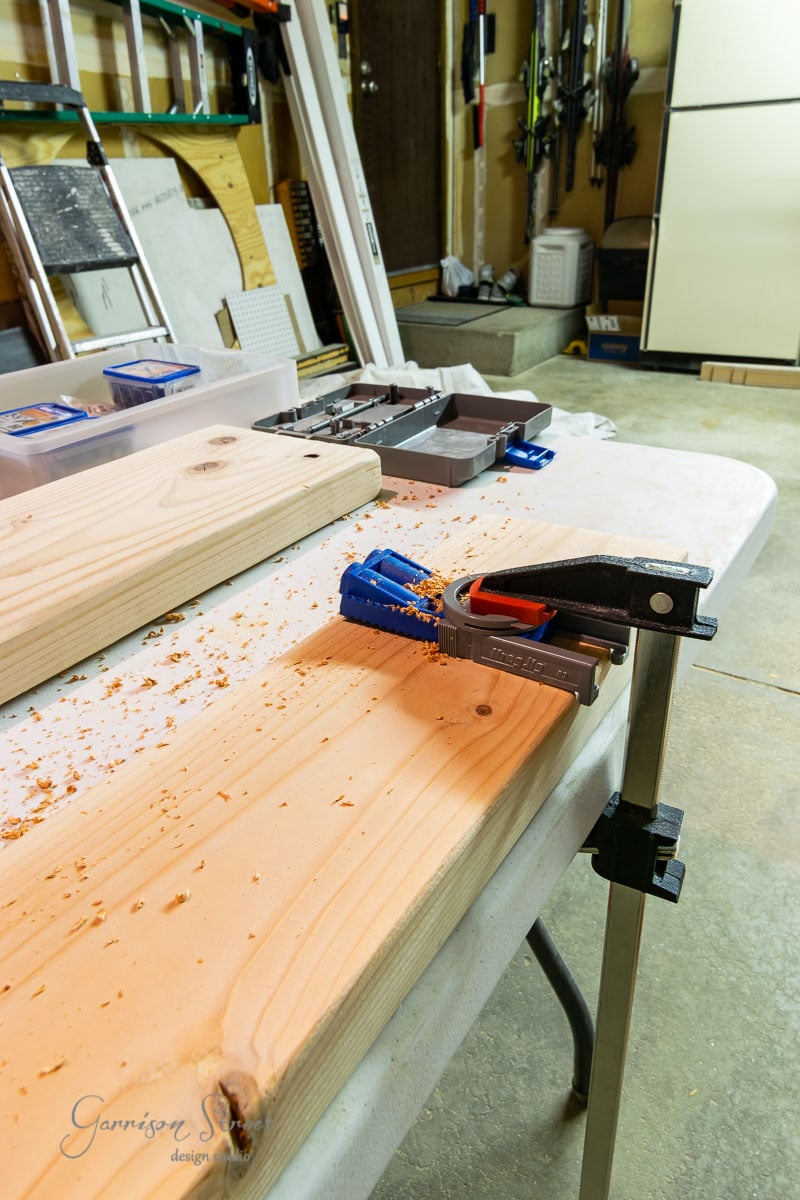
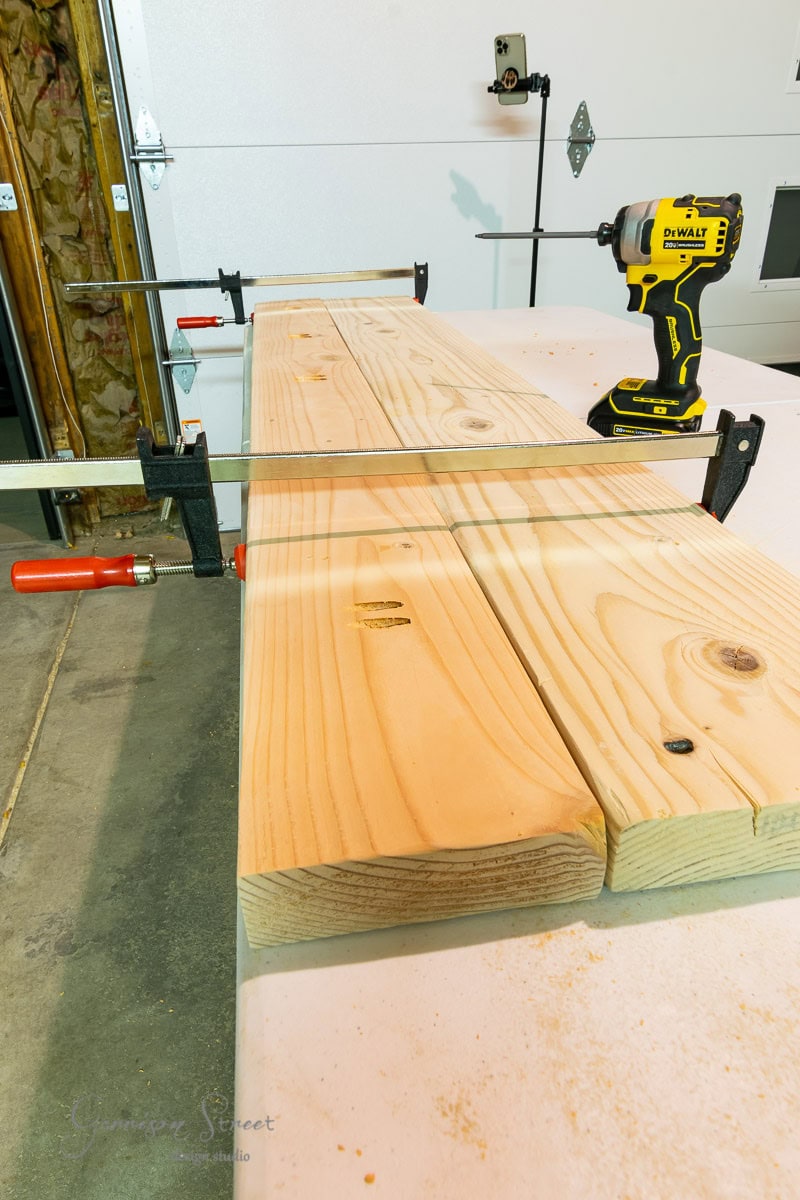
Once I drilled the holes I used my 24 inch clamps to hold it together and attach the boards together.
Next came the faux concrete. I must say, I am definitely not skilled in skim coating. This was only my second time using the feather finish and while I did mix it thinner than last time which did help, I still had a hard time getting it completely smooth.
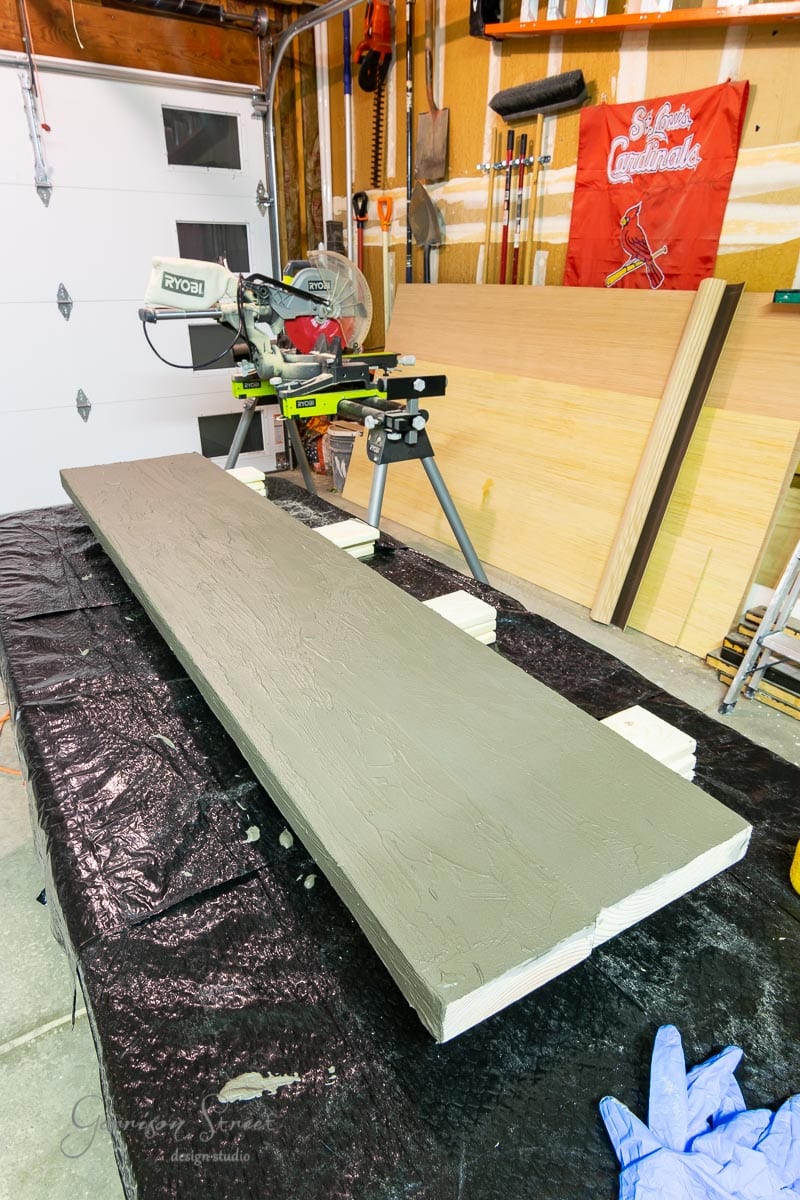
I tried wiping it down with a wet sponge after it dried for a bit and that did help some. Once it was completely dry, I hit it with my orbital sander. Unfortunately I managed to sand off some of the finish, lol!
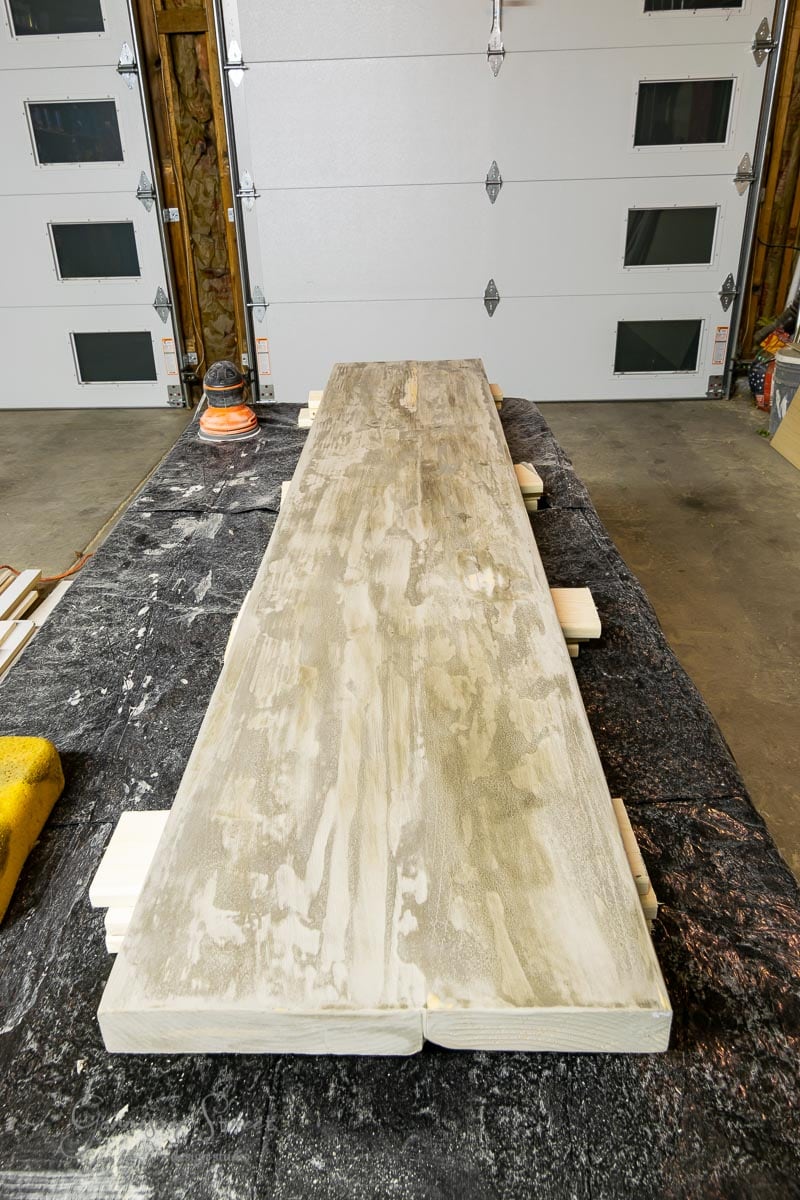
Needless to say, I wasn’t happy with how this looked. Plan B. Paint it black. While I liked how this looked in general, I didn’t like how it looked in the room. Ugh! Did I mention this was Wednesday morning that I decided this? True story.
So I went for plan C. Paint it white. This was much better. Thank goodness because I didn’t have time to come up with a fourth plan!
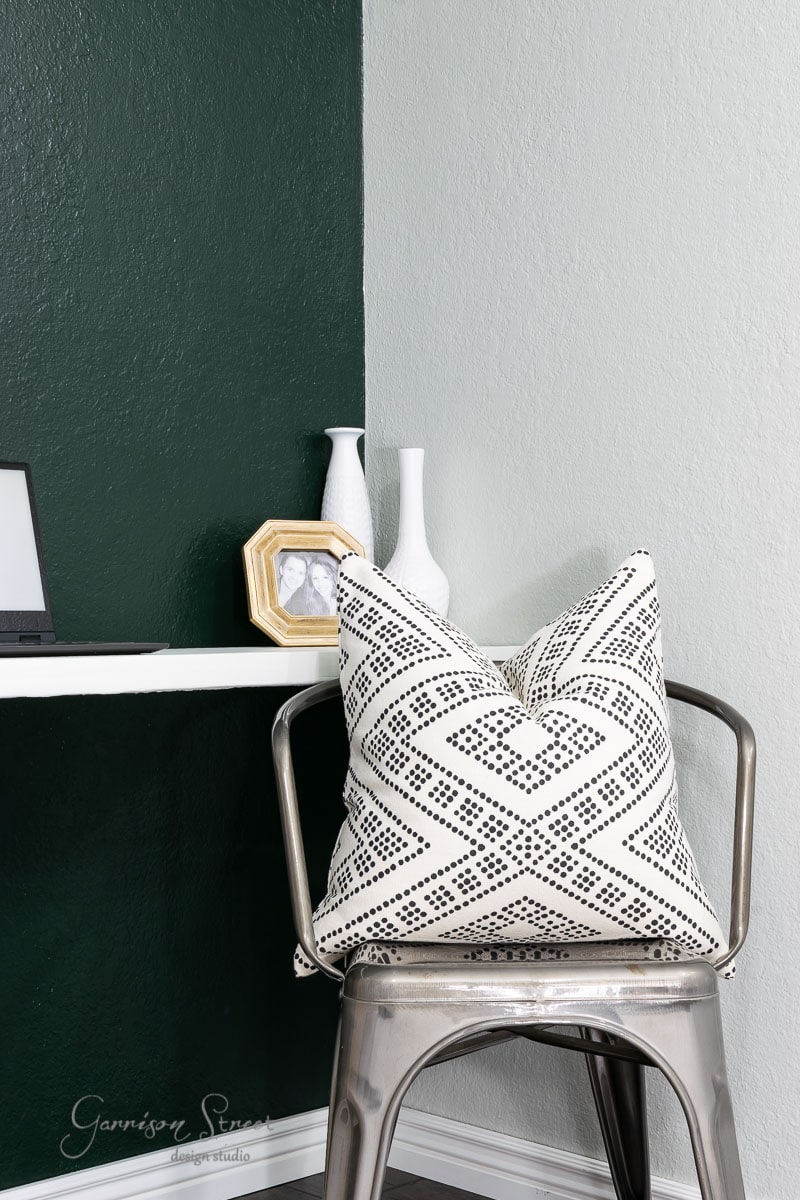
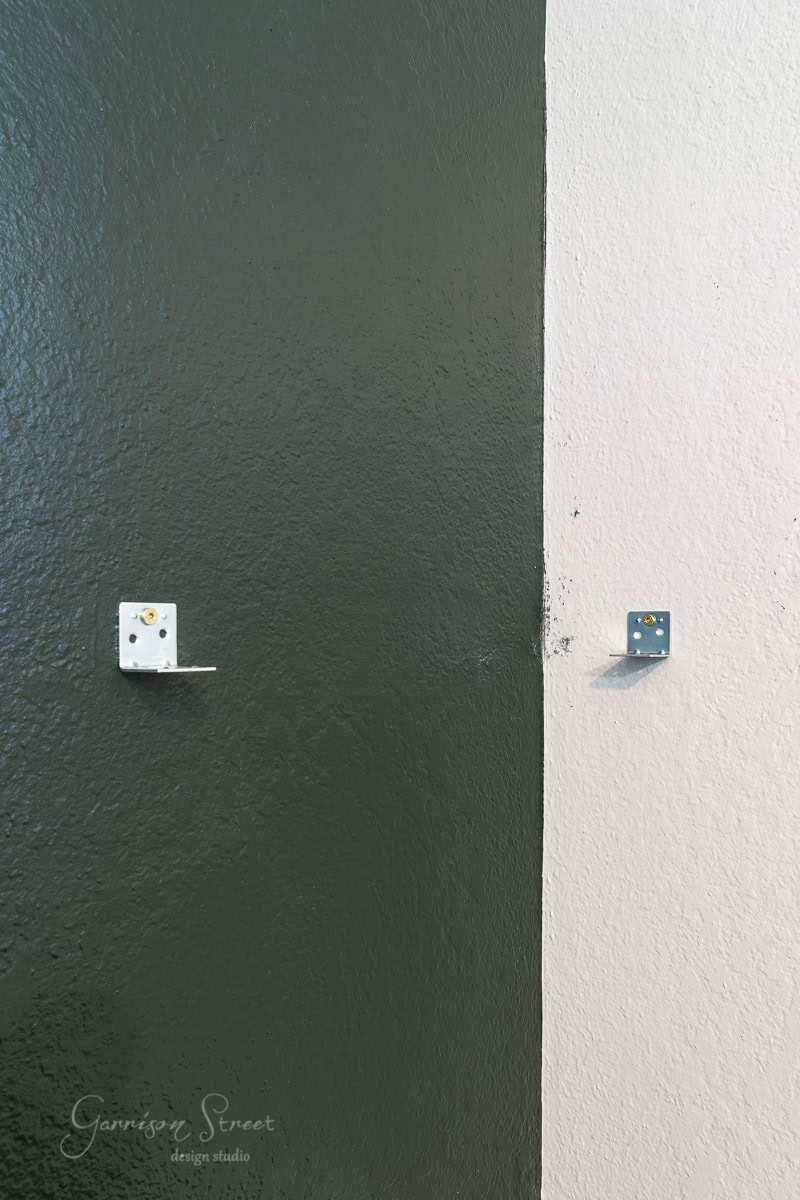
We attached the desk top with brackets that are hidden under the desk and attached to the studs to give it the appearance that it is floating.
Somehow this week that was supposed to be easier than last, turned into one headache after another. Never underestimate the “easy” stuff I guess! You can catch all the behind the scenes in my Instagram stories.
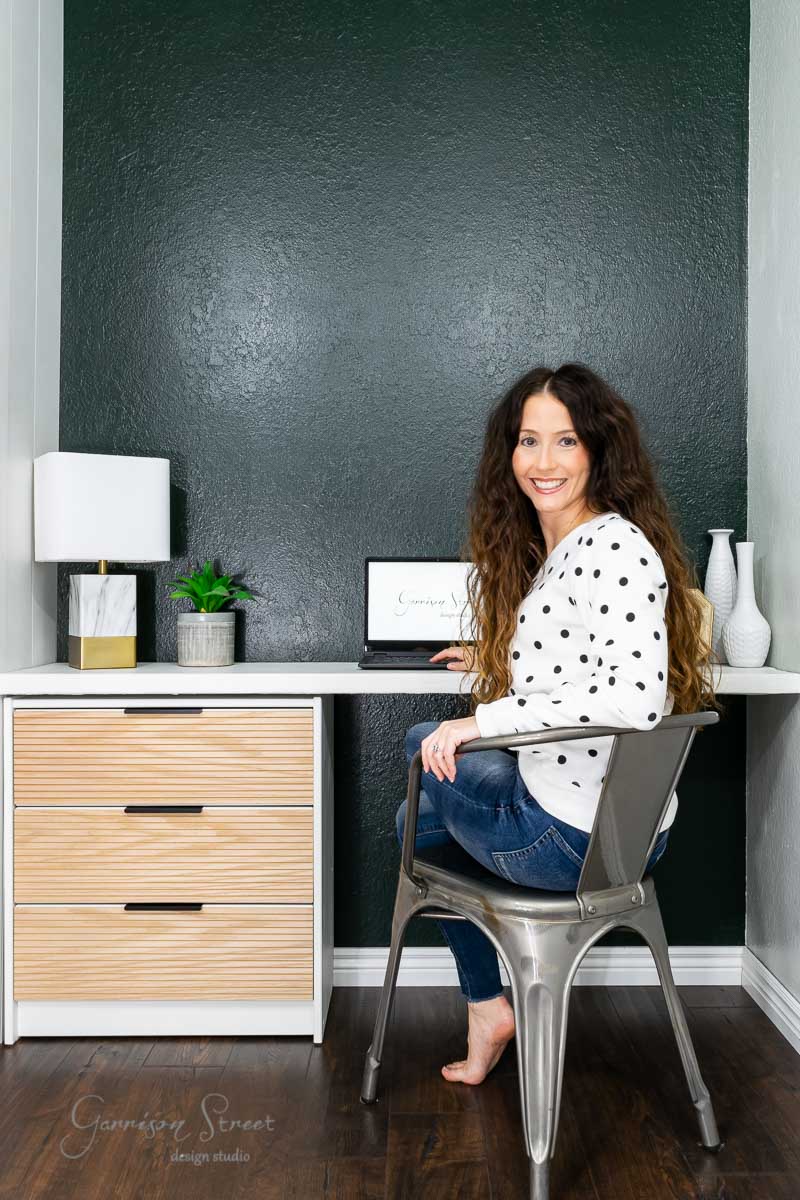
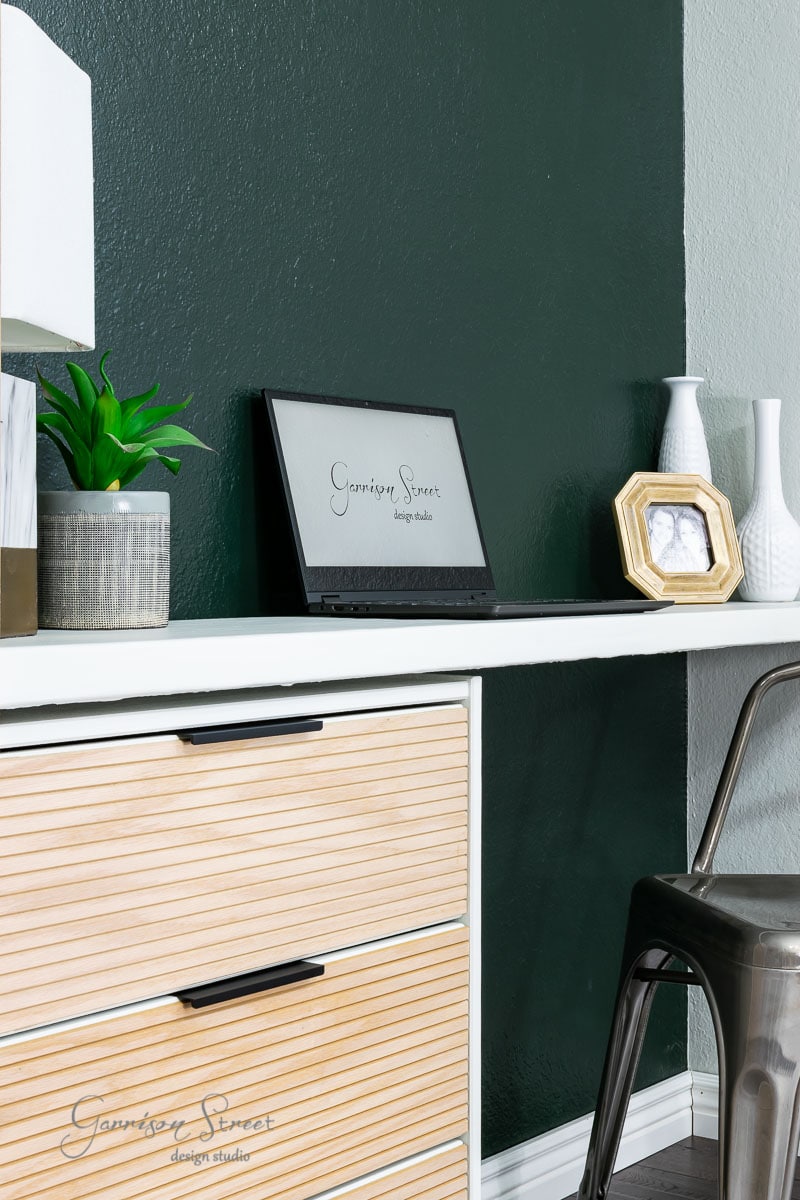
While the desktop wasn’t the perfect solution, it does offer a second desk location.
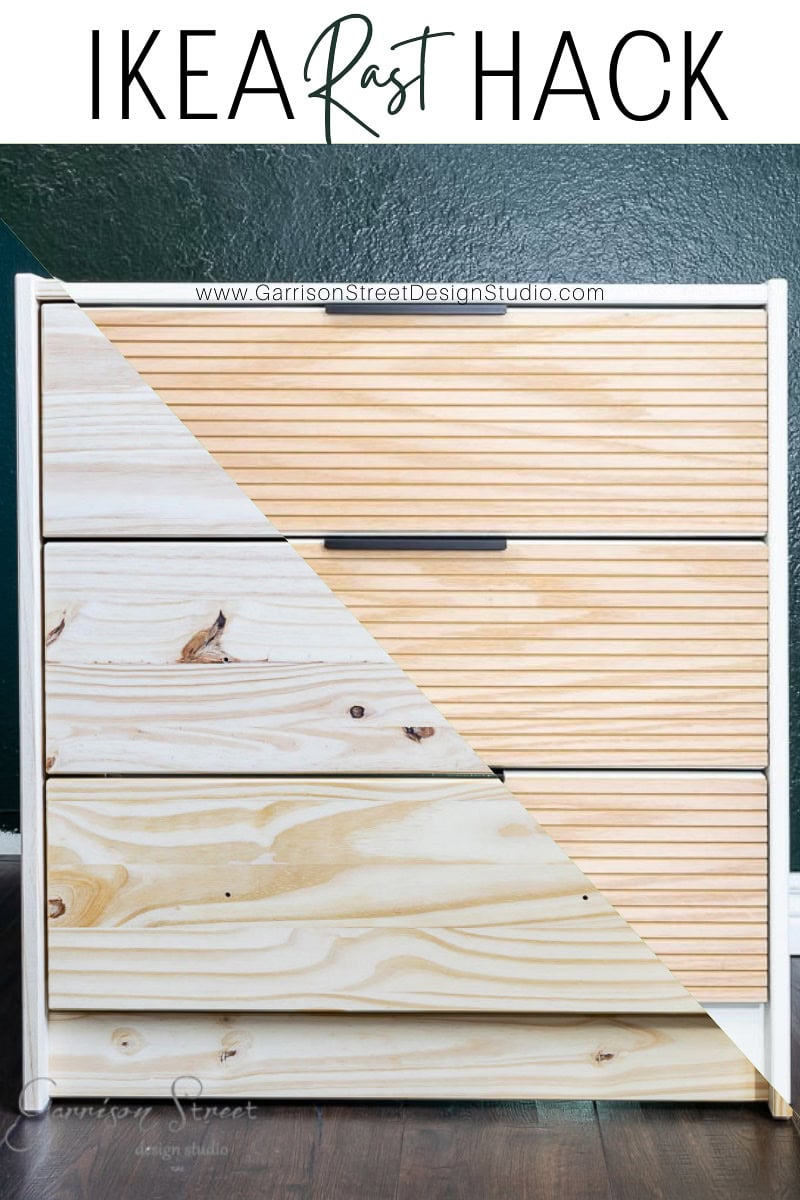
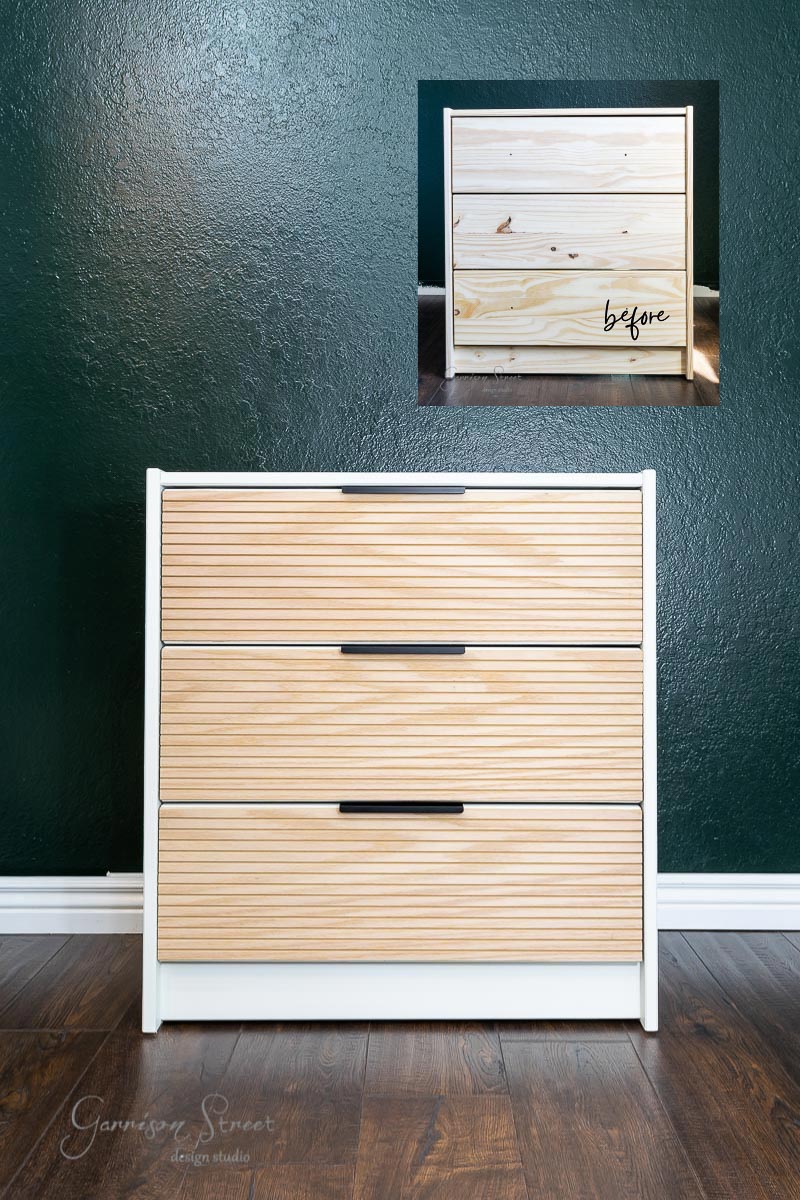
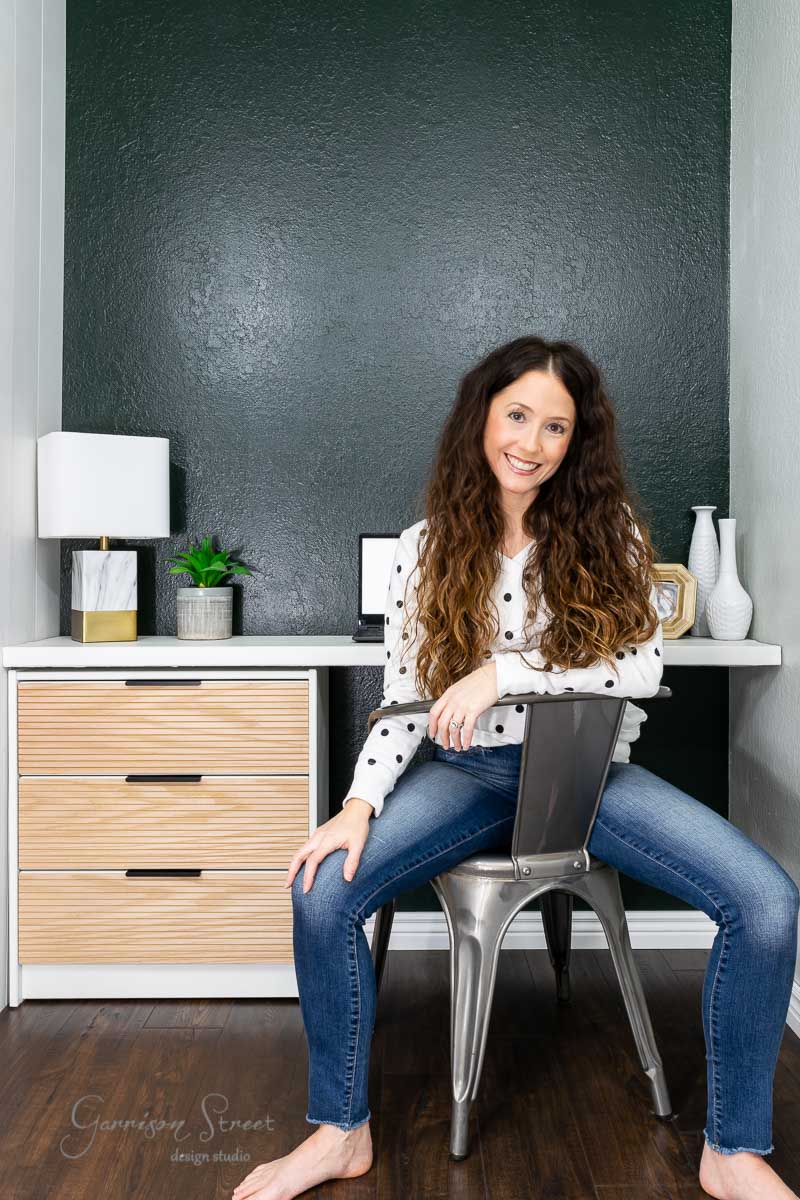
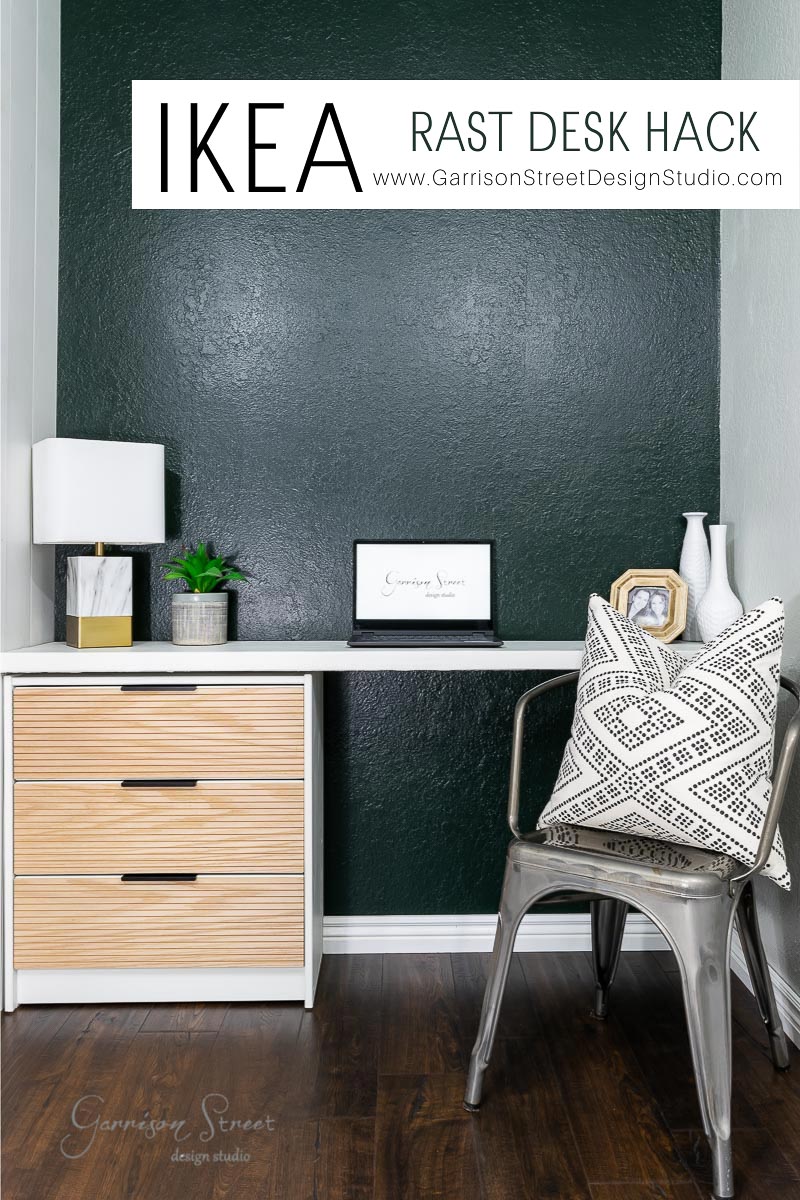
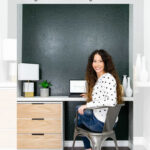
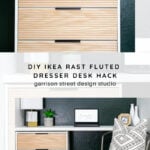
The before and after of this IKEA Rast dresser hack.
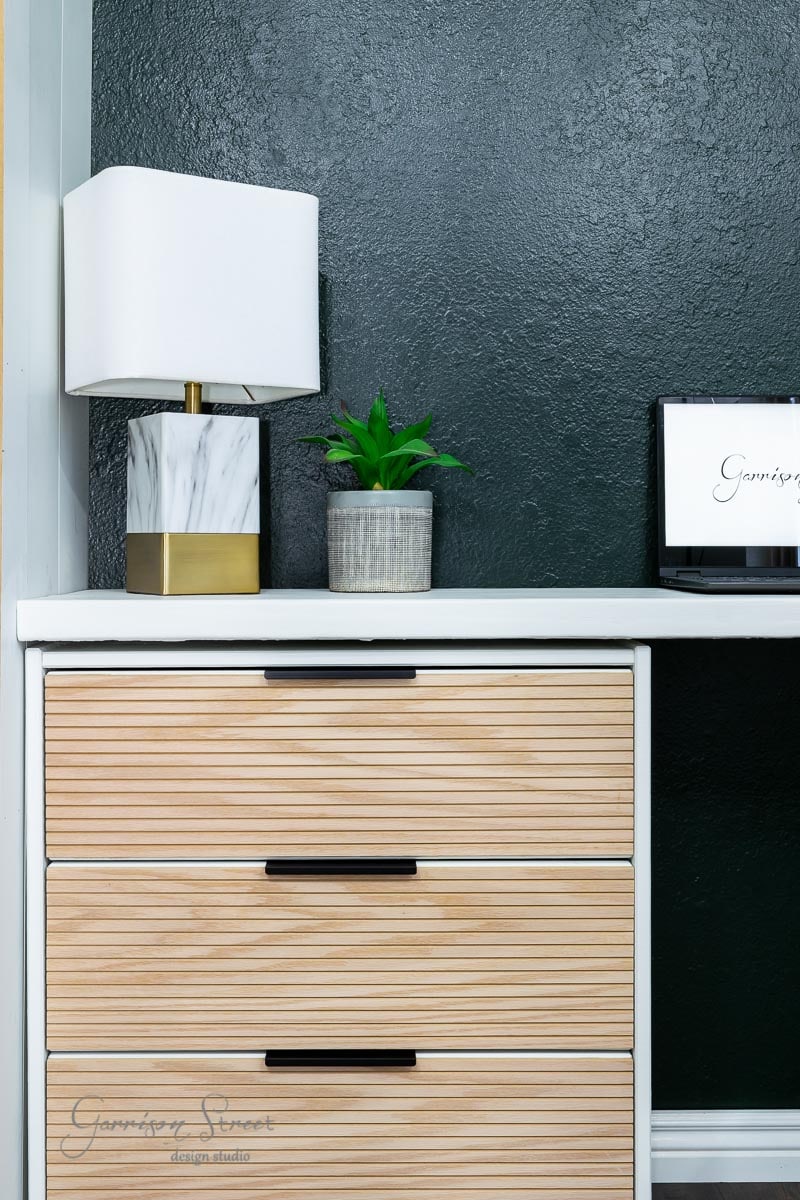
I love the fluted detail on the front of the dresser. It definitely adds the pizzaz the IKEA Rast chest was missing before.
I would tell you what we will be working on next week, but I honestly don’t know at this point! We still have to finish Barry’s closet and I hope to add a slim dresser to the other wall, but I truly have no plan right now. If I don’t show my face next week, you will know I didn’t figure it out, lol! To be continued…..
If you enjoyed this post, Fluted IKEA Rast Dresser Makeover Hack with Desk, please share it on Facebook or hover over an image and save to Pinterest! And if you don’t already follow me on Instagram, Pinterest, or Facebook, I would love for us to be friends! Also, make sure you don’t miss any of the progress and sign up here to get notifications delivered straight to your inbox. It’s going to be a wild ride!
Don’t forget to stop by the One Room Challenge to check out all the featured designers and other guest participants and give them some encouragement. I am sure they are feeling just as stressed as I am right now! 
This post, Fluted IKEA Rast Dresser Makeover Hack with Desk appeared first on Garrison Street Design Studio.

I love a good IKEA hack and this looks great! I tackled a few IKEA hacks for this challenge as well in my daughters room! 🙂
Thanks Lindsey! I am kind of obsessed with IKEA 🙂
You made the best out of that situation! Love the hardware you chose. Great job! Looks amazing
Thank you so much! I really appreciate that 😉
Did you attach it to the dresser in any way? This looks great! I’m looking to do something similar in my bedroom where I don’t have space for a dresser and a desk but I have absolutely no experience with power tools.
I did not attached the dresser, however, it butts up against the bunk bed wall. IKEA does recommend attaching all their dressers to the wall.